Today I am sharing a fun little Newsboy Cap Tutorial you can make from a recycled T shirt.
I started with a size medium recycled T shirt.
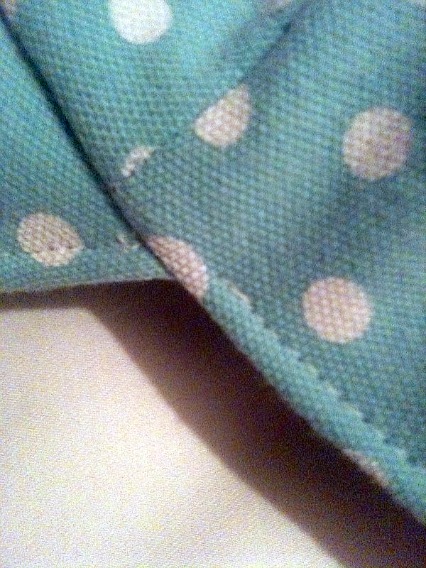
Here is a close up of the bill pattern I made. Length should be width of your forehead (from temple to temple) plus one inch. Cut two patterned pieces plus two plain pieces for added thickness. I didn't use pellon or any stiffener for this project.
Here is the close up of the shape used for the body of the newsboy hat. Cut eight pieces.
Length of the pattern (for the body of the hat) is about 6 inches. Width across is about 3.5 inches at the fullest part of the pattern.
Cut off the hem of your recycled T shirt and set aside. The hem is going to be the interfacing for the inside of the cap. Above shows all pieces cut and ready to be sewn.
Start out by sewing two pieces together. Match from the bottom and sew up to the point. Repeat this step four times.
Next sew two parts together so you have a total of four pieces joined. Repeat this twice so you have two parts that look like the above photo.
Join your two halves together to make your hat top a complete circle as shown above.
Sew open all of the seams making a running stitch all the way around the edge of your hat. This was a presser foot from the edge of the hat's base. This stitch will be a guideline for future steps (below). Sew all the way around the edge, not just at the seams.
For the bill of your cap join two solid pieces of T shirt material with two pieces of your patterned fabric. The two pieces of patterned fabric will be right sides together. Sew all four pieces of fabric along the outer curve of the bill as shown above.
Turn the bill assemblage right side out, press and clip as desired, and sew a decorative top stitch along the edge of the outside curve of the bill as shown above.
With the right side of your bill meeting the right side of your cap's top (center the bill) and sew it to the hat. When attaching the bill you are going to sew on the stitch you made previously when you sewed the seams open.
After the bill is sewn to the body of the newsboy cap it will look like the above photograph.
Take the hem from your T shirt and zig zag sew along the raw edge. The length of this piece should be your head's circumference plus two inches. I leave this as one long strip instead of making it a continuous loop.
With the hat right side out take the hem piece and place the edge of the hem along the stitching (from previous step). I start sewing at the center of the bill and sew to the center of the back (basically half of the hat). Then come back to the front and sew (from the center again) the remaining part of the hem to the hat. When you get to the back center, where the tails meet, overlap and sew in place. You'll temporarily have a raw edge exposed where the two pieces are joined in the back.
With your zig zag stitch sew over the seam(s) you just made in the above step. This reinforces the hat's interfacing and it also gives a more finished look to the inside. (At this point sew over the raw edge where the two tails met in the back. In the next step this seam will barely be noticeable.) In the close up you can see I had a little of the guideline stitch showing so I had to take a seam ripper and remove those stitches.
Press your new interfacing under (or inside the cap) and top stitch from the edge of the bill, around the back, and just to the edge of the bill on the other side.
The flower is made of strips of periwinkle T shirt fabric that I wound around my finger and glued in place. The ribbon is rayon, by Midori, that I wet so it would crinkle. If you want to see photographs and how-to's for the flower see my tutorial titled Lampshade Redo from Recycled T Shirt.
Your last step is to sew the flower assemblage to the bill of your cap and you are done.
Here I am posing with the hat.
Here is my "model" wearing the Newsboy T Shirt Cap.
Inside tip: I don't line many of my T shirt caps for two reasons. One, it is hot here in Louisiana and this keeps my head slightly cooler to have only one thickness of fabric on my noggin. Two, honestly, I'm kinda lazy about it, and I think the hats are just as cute without lining them.
Happy sewing and hat making. I hope you enjoyed this project!
Bye for now. Cynthia